With the Recycle Bin
feature, you can restore (accidentally) deleted entries and rooms. After 30 days deleted entries / rooms are automatically removed from the recycle bin.
Tip: You don't know whether you will need an entry / room again at a later time? Don't delete the entry / room, but archive it instead. In contrary to the recycle bin, the archive is not emptied automatically.
How does the recycle bin work?
If the recycle bin is activated in your organization, starting from the point of activation, all entries*, rooms, and room templates that have been deleted by you or other users of the organization are kept in the recycle bin for 30 days. Entries that have been deleted before the activation of the recycle bin will not be kept in the recycle bin.
*Entries from the following modules are kept in the recycle bin
- Tasks
- Files (loose or as attachment)
- Discussions
- Calendar
- Pages
- Whiteboards
The deleted entries and rooms can be viewed in the recycle bin and restored including their contents.
Note: Templates of entries from a room (e.g. task or whiteboard templates) are not transferred; these are permanently removed when they are deleted. If a template is still to be used later, save it as a task etc. and then delete it.
Where can I find the recycle bin?
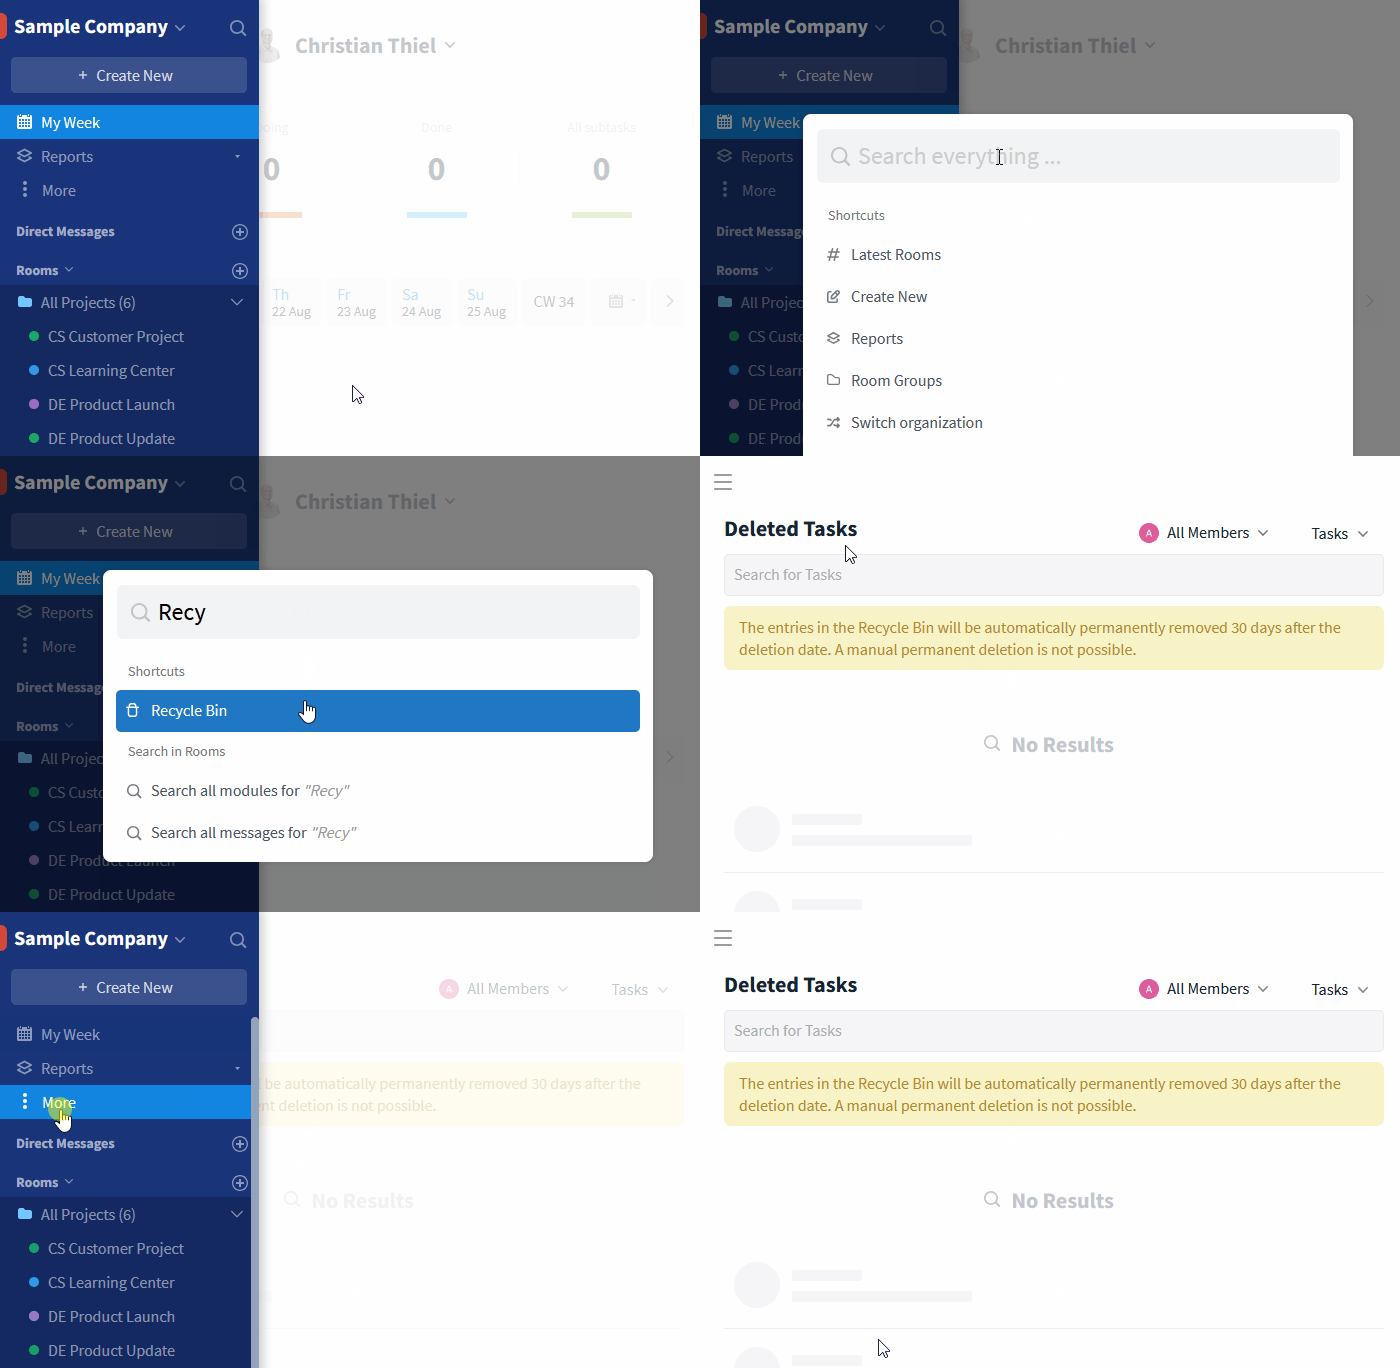
You can open the recycle bin either via the global search (magnifying glass symbol in the sidebar top right) or by pressing the button "More" in the top area of your sidebar.

The recycle bin can be opened via the global search
Navigation inside the recycle bin
To search for a specific entry or room inside the recycle bin use the search in the upper area by entering a keyword in the text input field. Next, all corresponding entries / rooms are displayed to you.
In the top right, you can find different filters. Click on All Members
to restrict the view on entries or rooms that have been deleted by a specific person. On the right you can choose if you want to only display rooms or entries from a specific module.

Further restrict the view by using filters
Restoring entries / rooms
To restore an entry, first search or filter for the desired entry, if necessary. Once you have found the entry, open it with a click and select Restore
in the grayed-out area. Now, the entry will be moved to its original location
. For example, for a task, that's the room where the task was deleted. For files, pages, and whiteboards, it can also be inside a folder. Use the module search to find the entry in the room, if need be.

Reverse the deletion process by clicking Restore
The restoring of an entry is added to the history in the comment section.

The history keeps track of any deletion or restoring of a task
If you want to restore a room simply click on Restore
next to the room name. Note: Rooms are brought to their original location
as well, for example inside a room group. If necessary, use the global search to quickly find the restored room.

You can easily restore a room by clicking the Restore
button
Options for admins
Availability inside the recycle bin
The availability of the recycle bin can be restricted due to your user role on an organizational level. Users with the role Admin and Member have access to the recycle bin and its contents and can restore them when needed. Users with the role Guest and External, however, don't have any access.
Only contents you have access to are displayed to you in the recycle bin (see right groups in the room, analogous to the archive feature).
(De)Activating the recycle bin
As an admin of your organization you can (de)activate the recycle bin in the organization settings. Simply open the settings of your organization and switch to the tab Settings. Now, select the desired setting next to Recycle bin
and save your changes.

(De)Activate the recycle bin feature in your organization settings
When deactivating the recycle bin a query will appear to confirm the process. The popup window additionally contains a hint informing you that all contents of the recycle bin will be deleted within 24 hours after the deactivation.

Note when deactivating the recycle bin
All other admins of the organization will receive an email notification whenever changes are made to the recycle bin settings to ensure that any changes made in error can be corrected promptly. For example, if deactivated, it is possible to reactivate the recycle bin before the contents of the recycle bin are irrevocably deleted or, if activated, to prevent deleted content from being stored.